


How to put up the Teepee. Follow these step by step instructions.
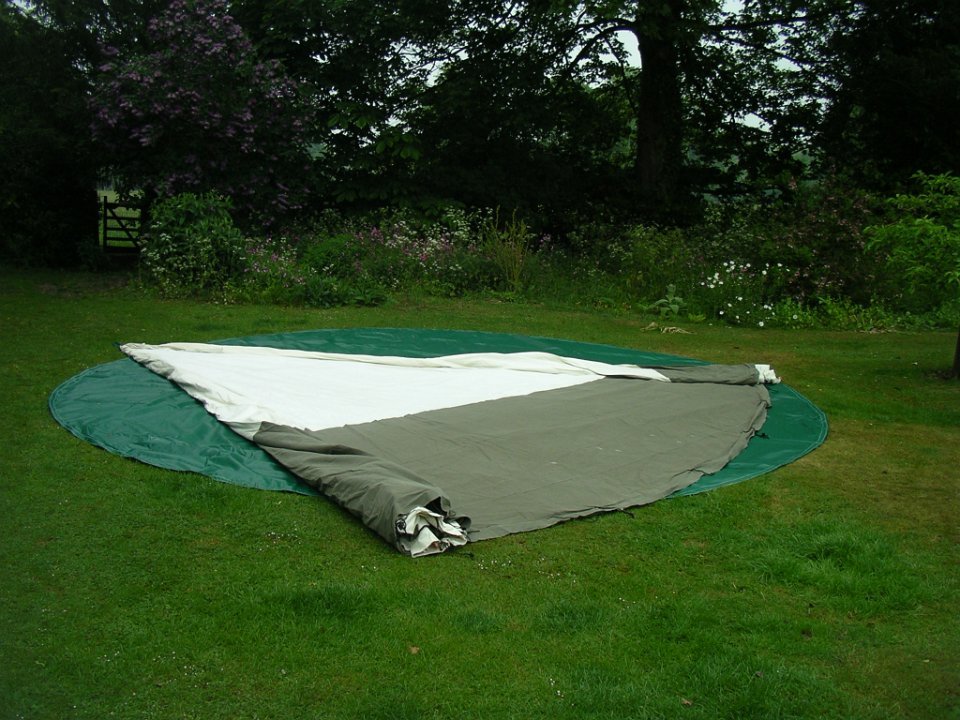
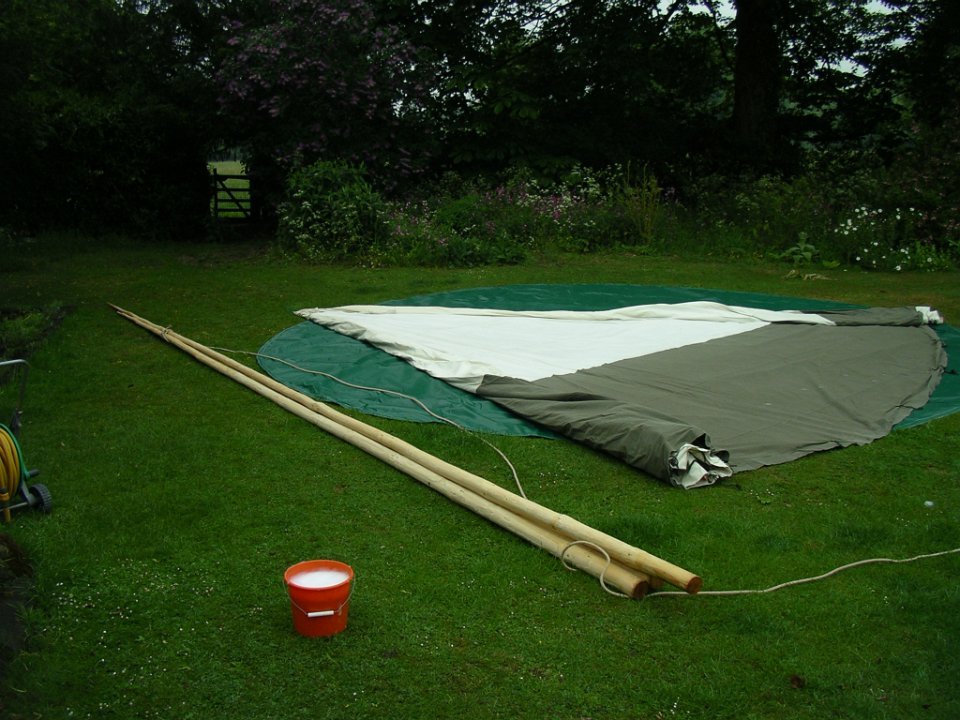
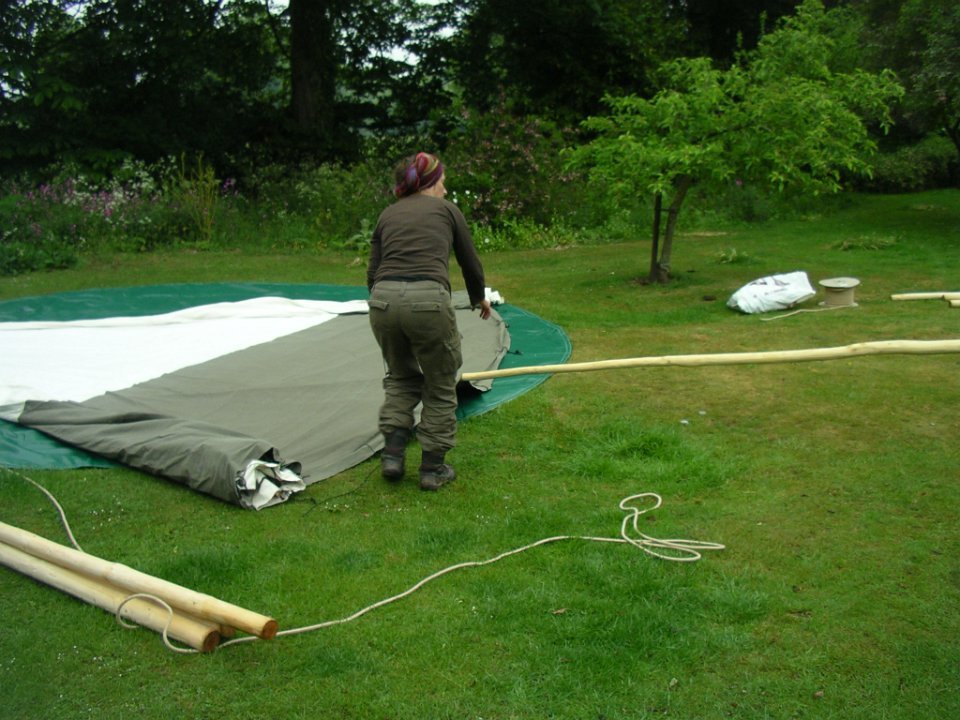
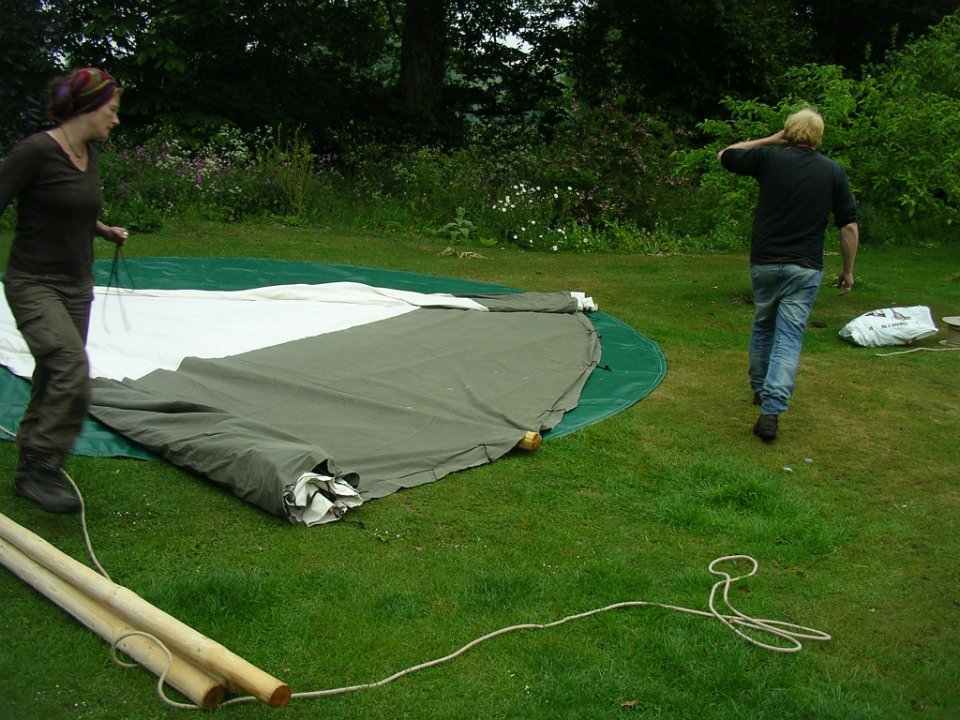
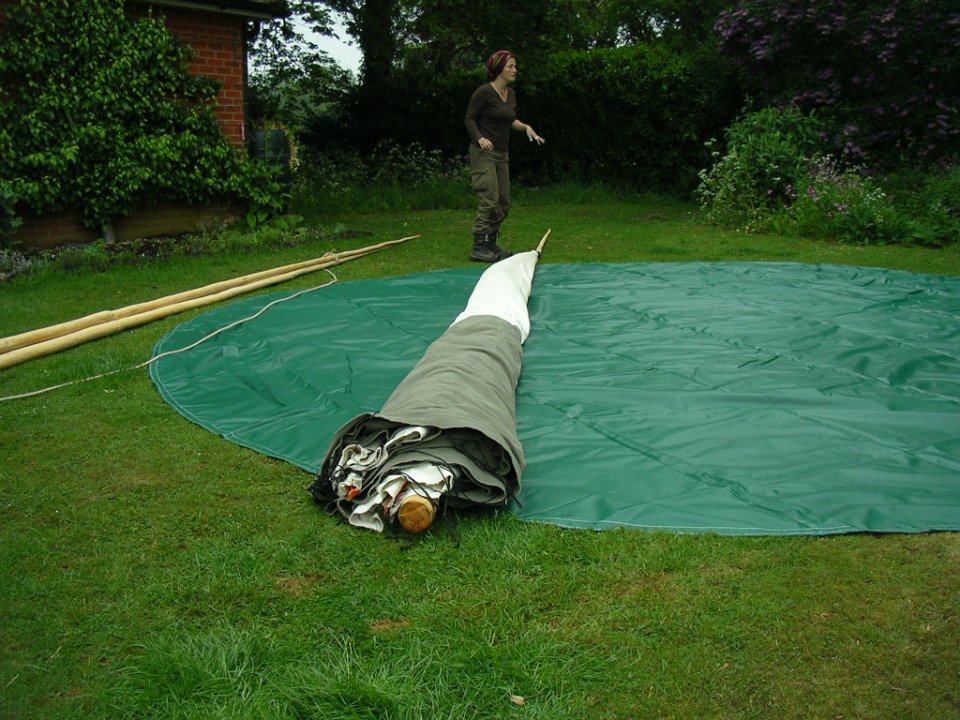
Roll out as shown
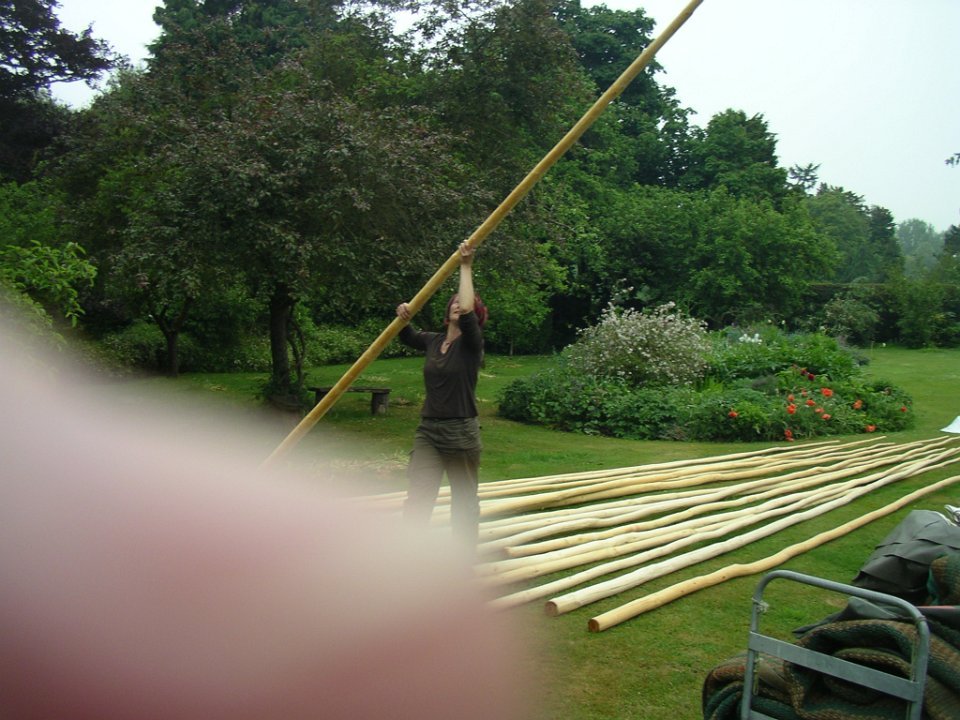
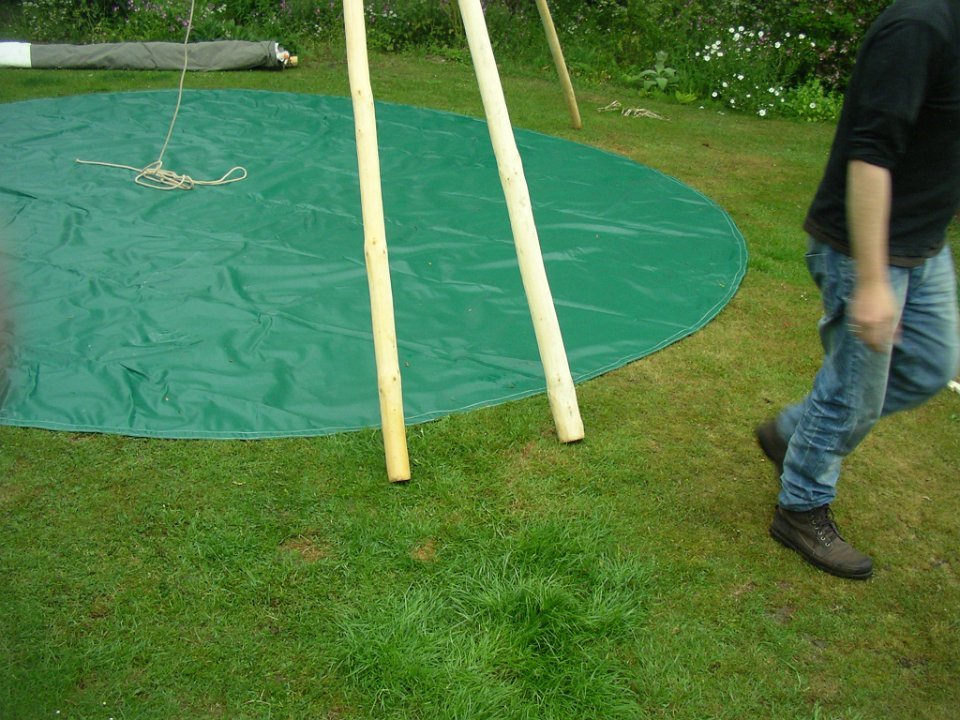
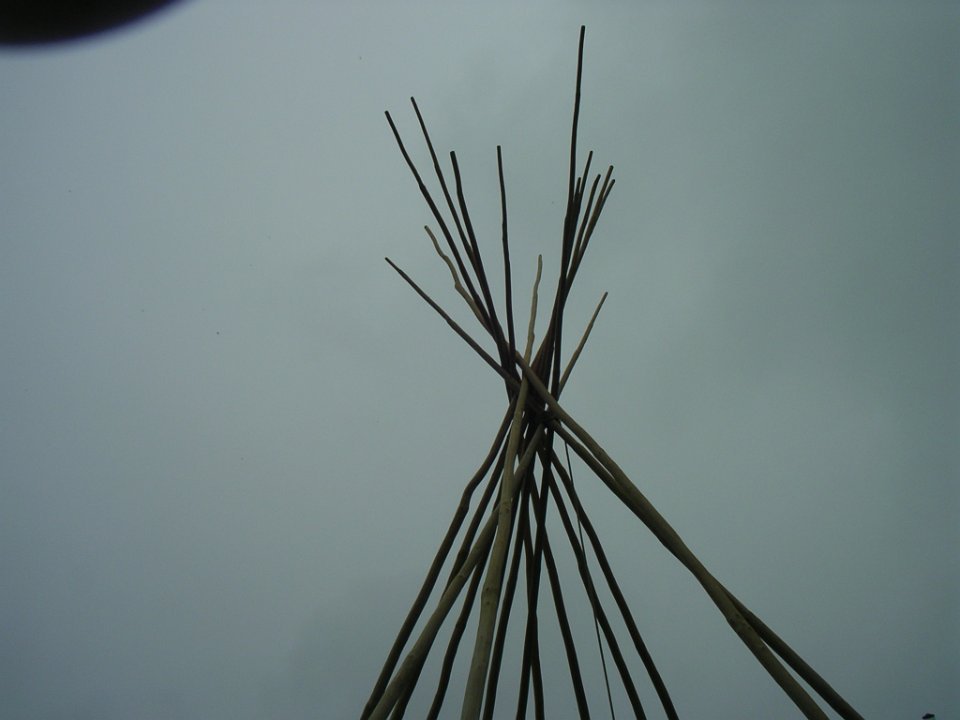
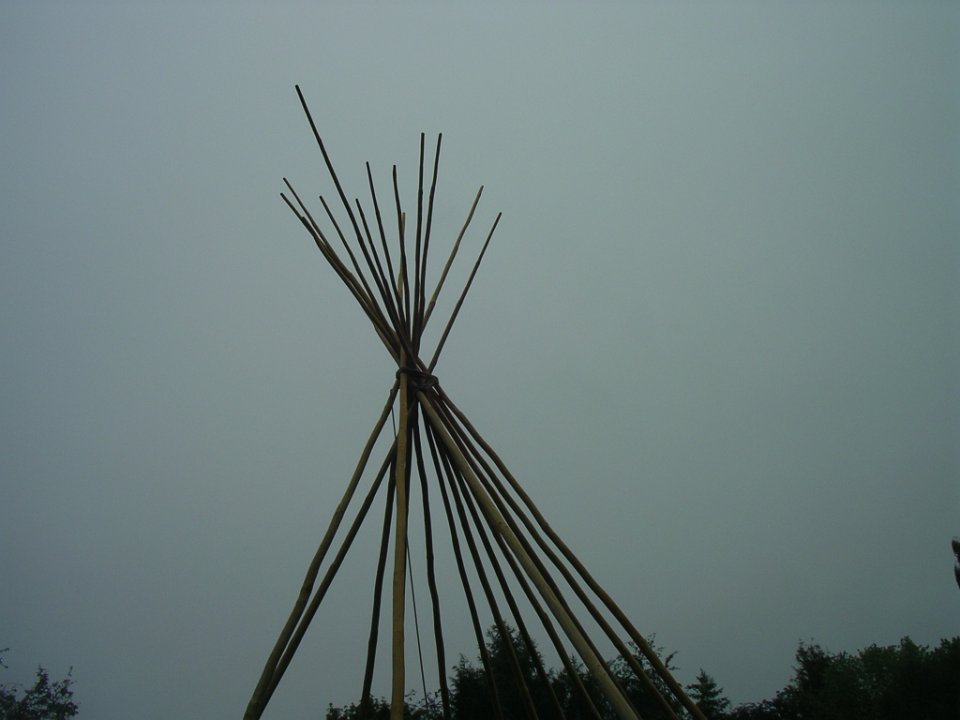
Select 3 straight strong poles as the tripod
Place tripod as shown with lower poles 2” beyond canvas, and top pole 9” further
Tie very tight clove hitch level with base of green ‘tab’ – but poles do need the knot to yield a little
Take tripod off canvas
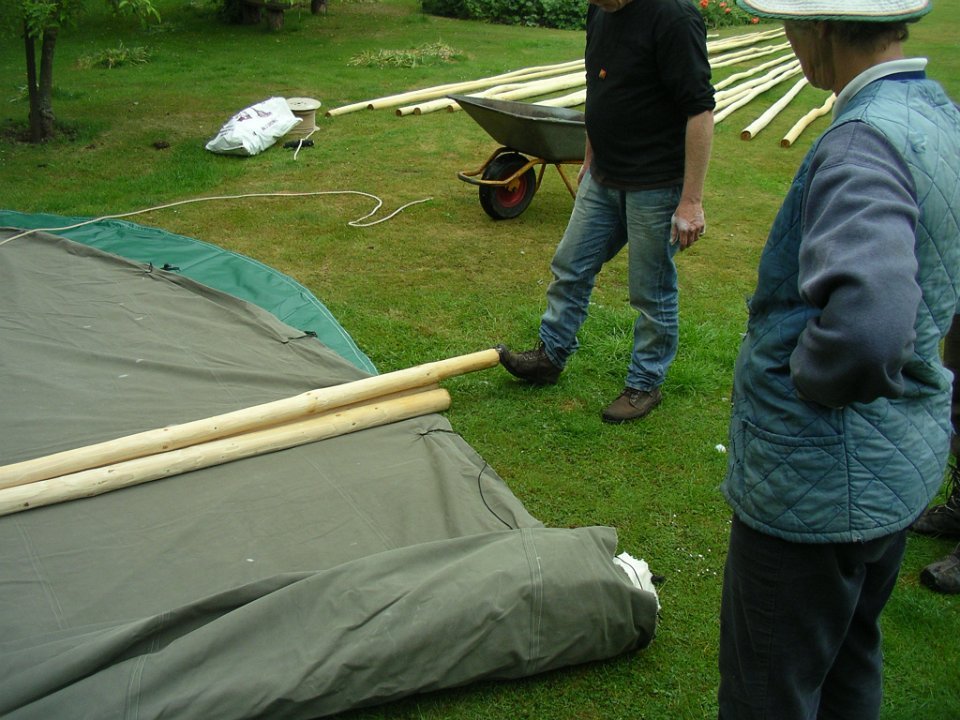
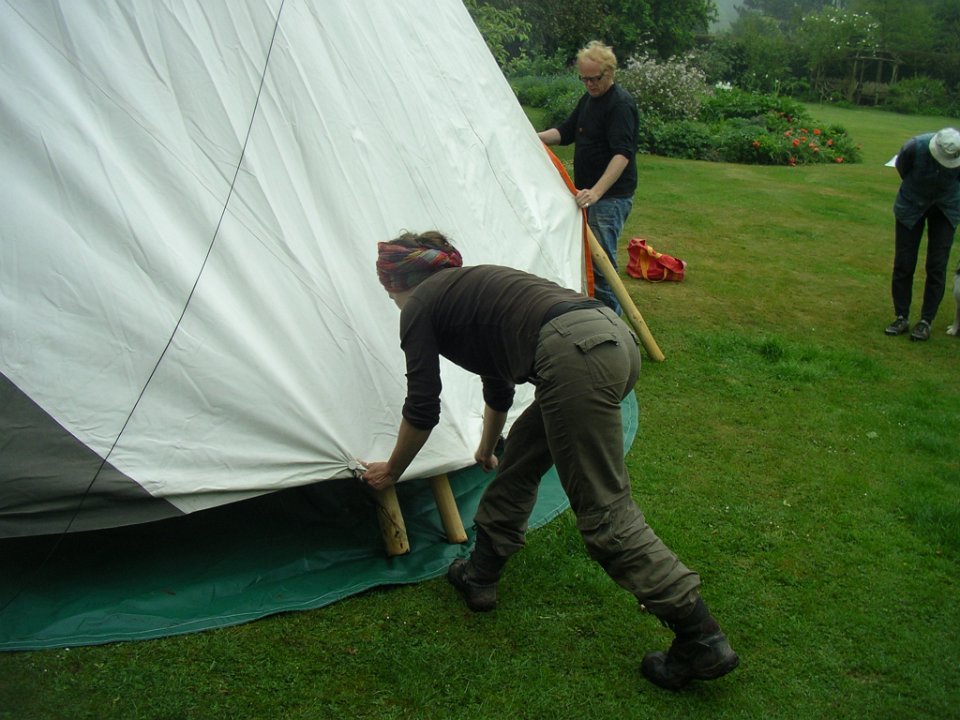
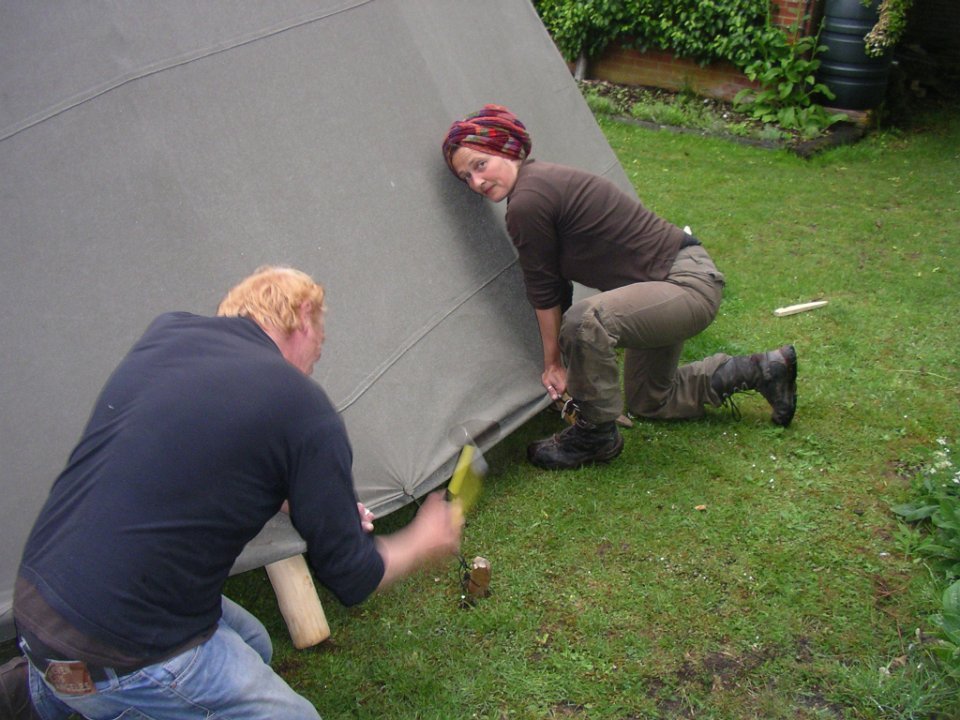
Insert door pole between canvas and groundsheet – make sure the canvas is not inside out
Leave 2” exposed as shown
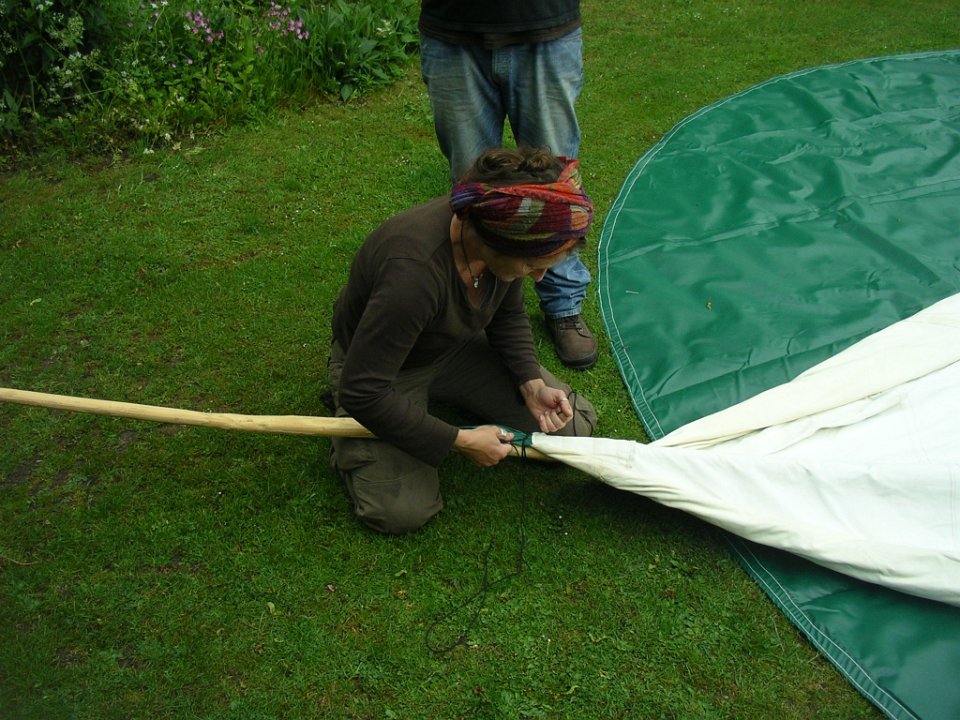
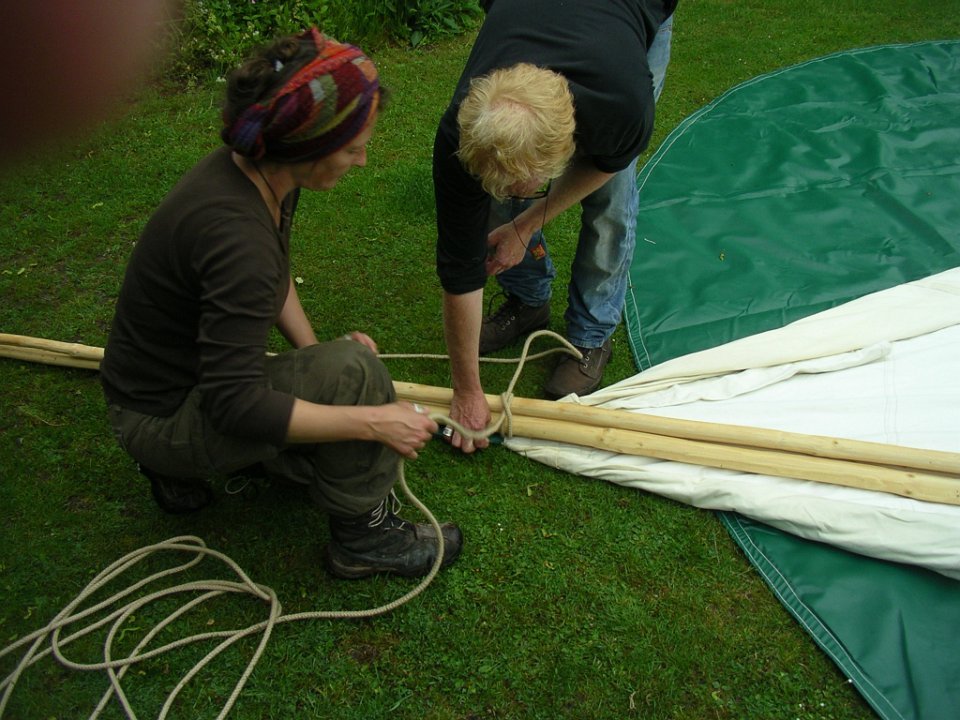
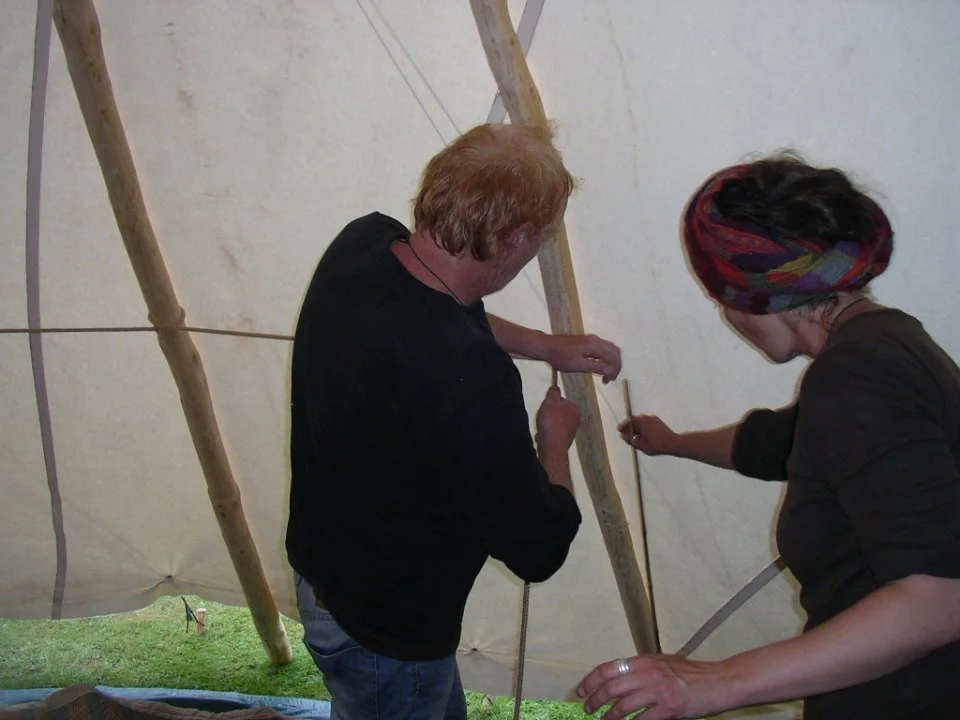
Tie green tab really tightly to pole
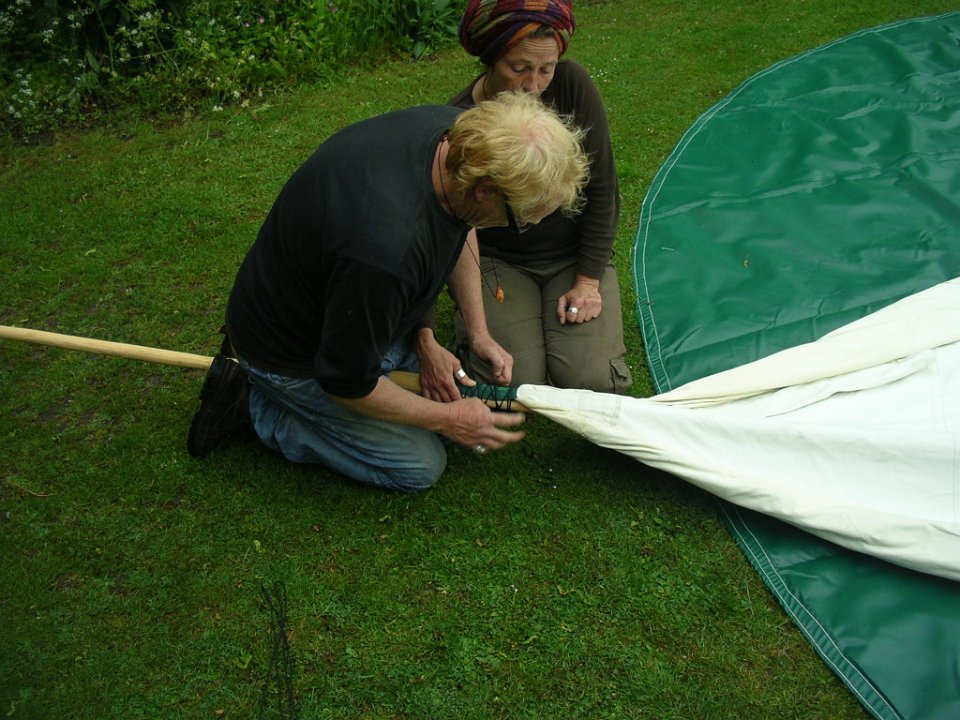
Ditto - it must not slip down pole!
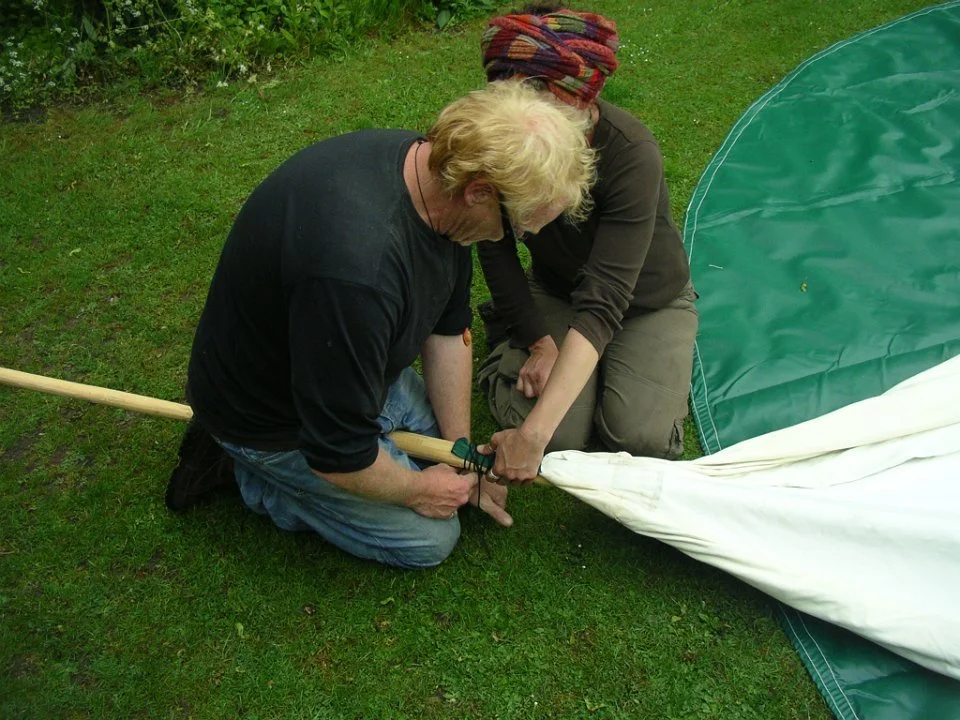
Ditto - it must not slip down pole!
Fold canvas over pole as shown and put aside
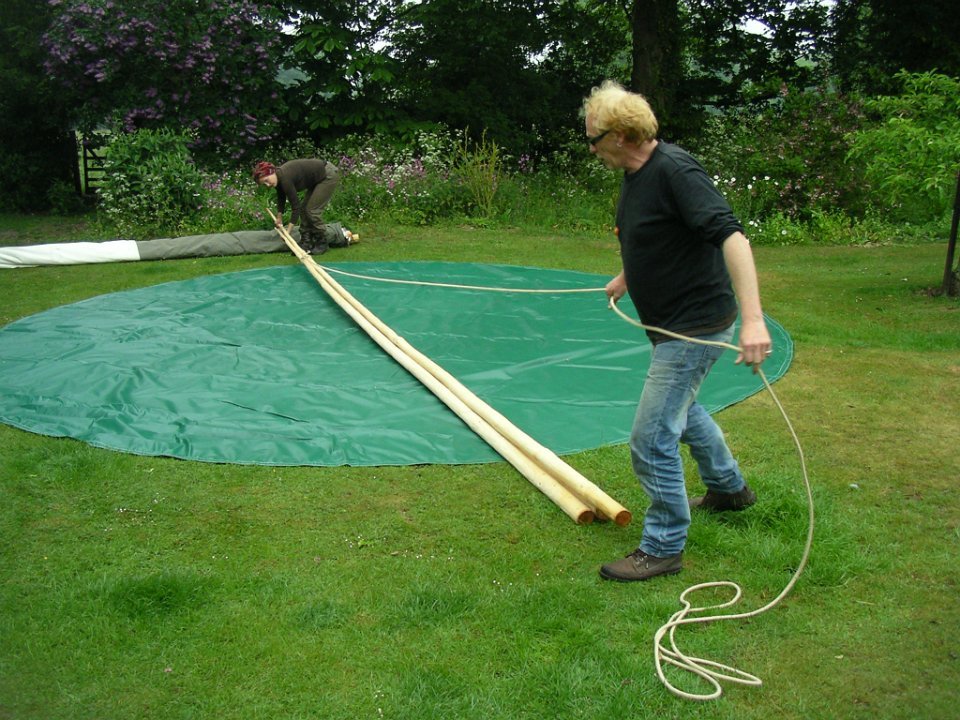
Prepare to raise tripod with rope and pushing on poles
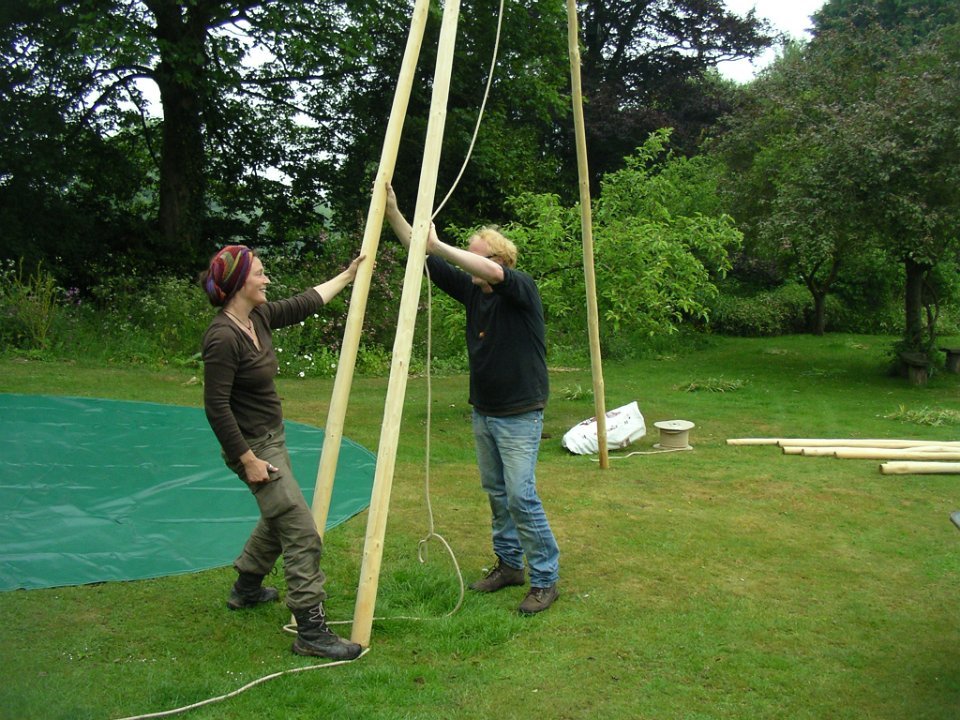
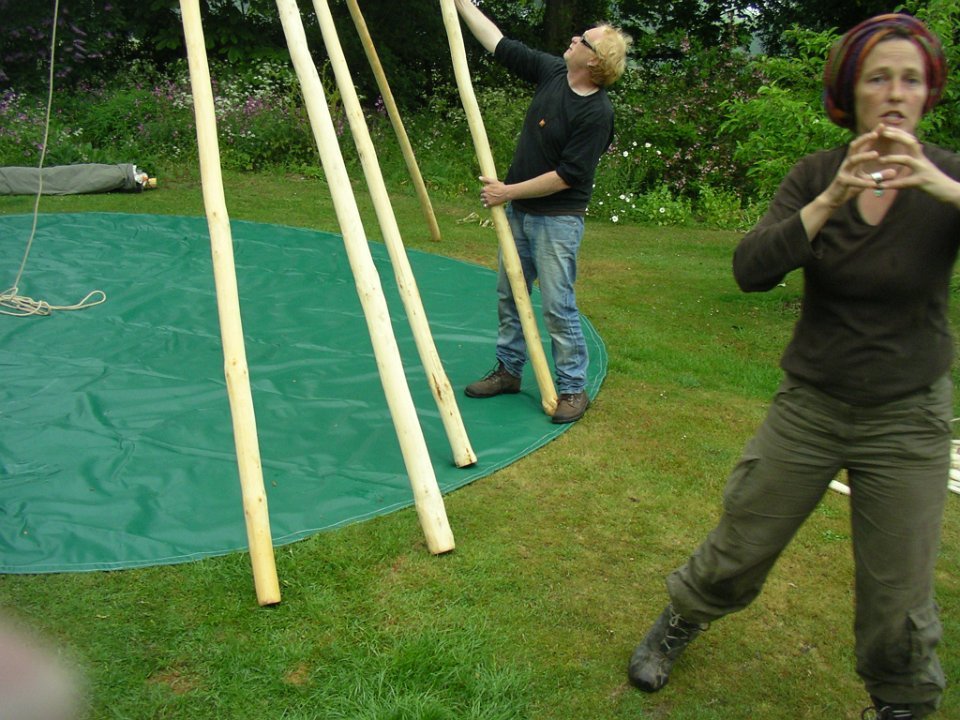
Keeping longest pole in front (the door pole) take first pole out to the right first – as on photo

And then second pole out to the left
Gradually move the left and right poles to make a perfect tripod. Important door pole rest on the cross made by the other two
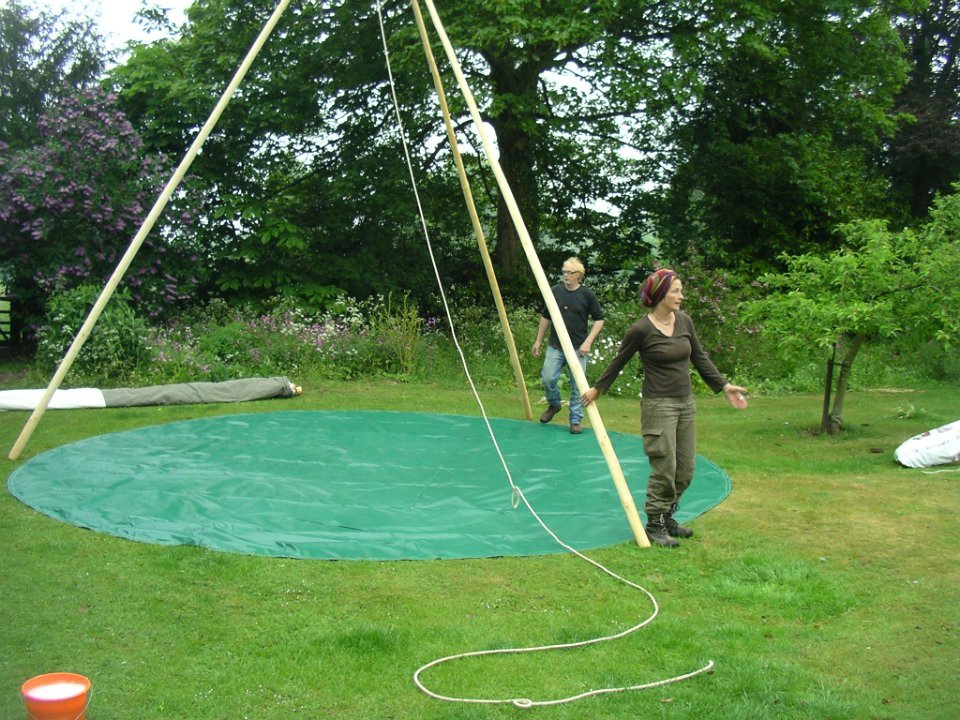
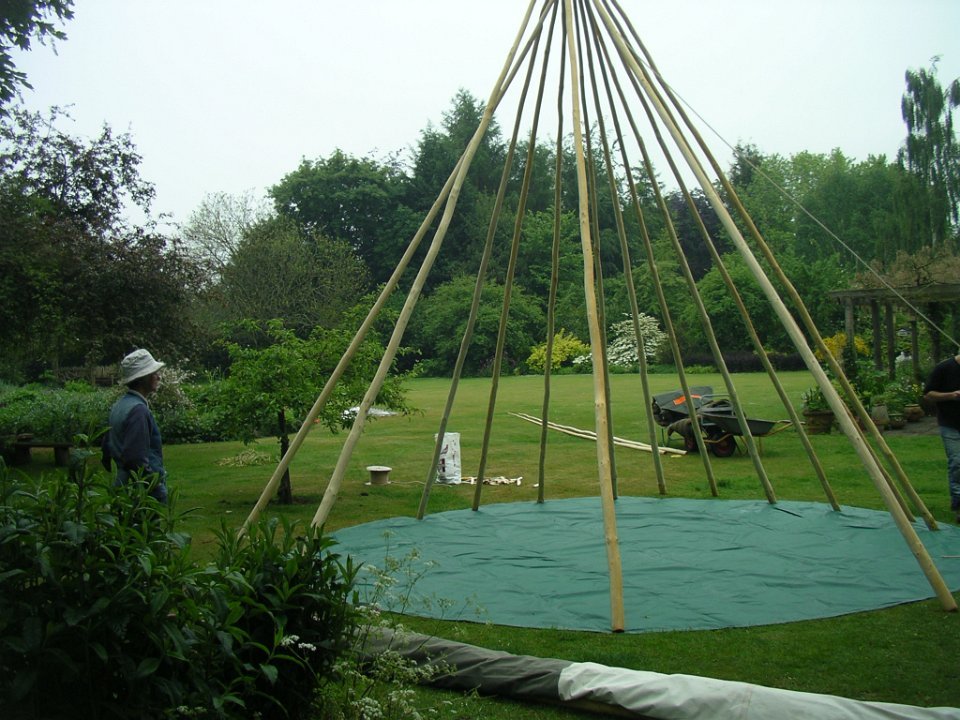
Place the 4th pole to the right of door pole
Measure distance from the inside base of the tripod poles – adjust to precisely 19’
Adjust 4th pole to be same distance from ground sheet as front pole (‘front’ pole is the left door pole)
Place another 4 poles (5 in total) to the right of the door pole in the obvious gap – as in photo. Look at photos – not important that base of poles are anywhere near their final position
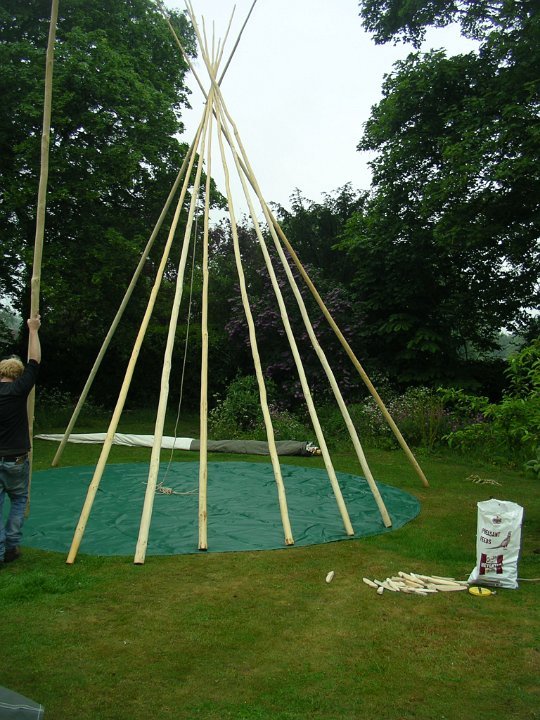
Place 4 poles to the left of the door pole in the same gap

Ditto – poles will be put into final position once canvas is spread and done-up
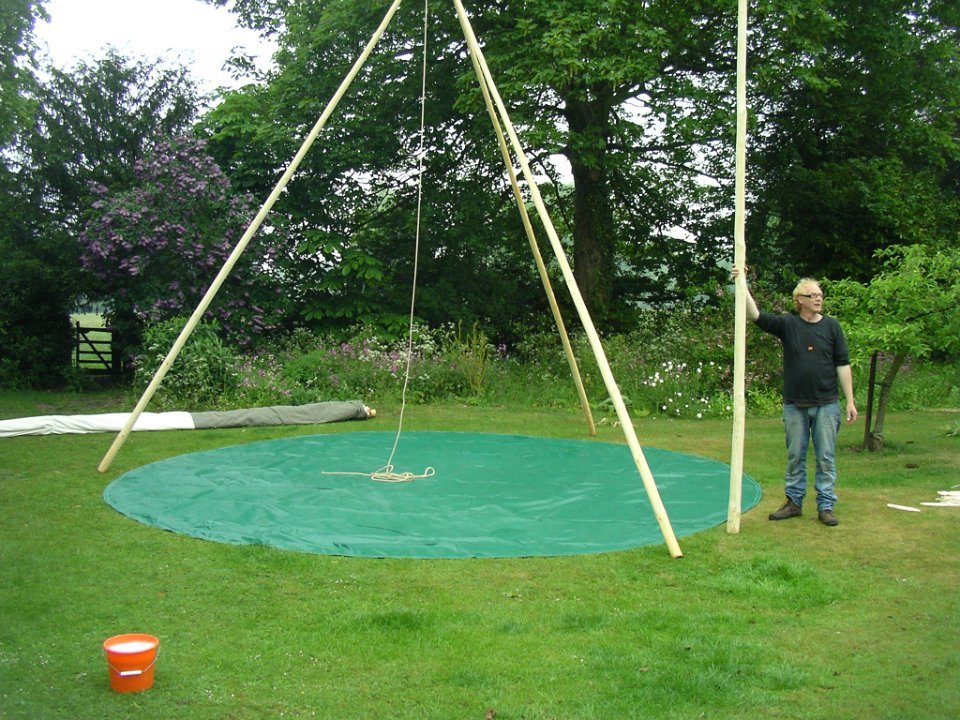
Place 2 poles at rear opposite the door in the obvious gap
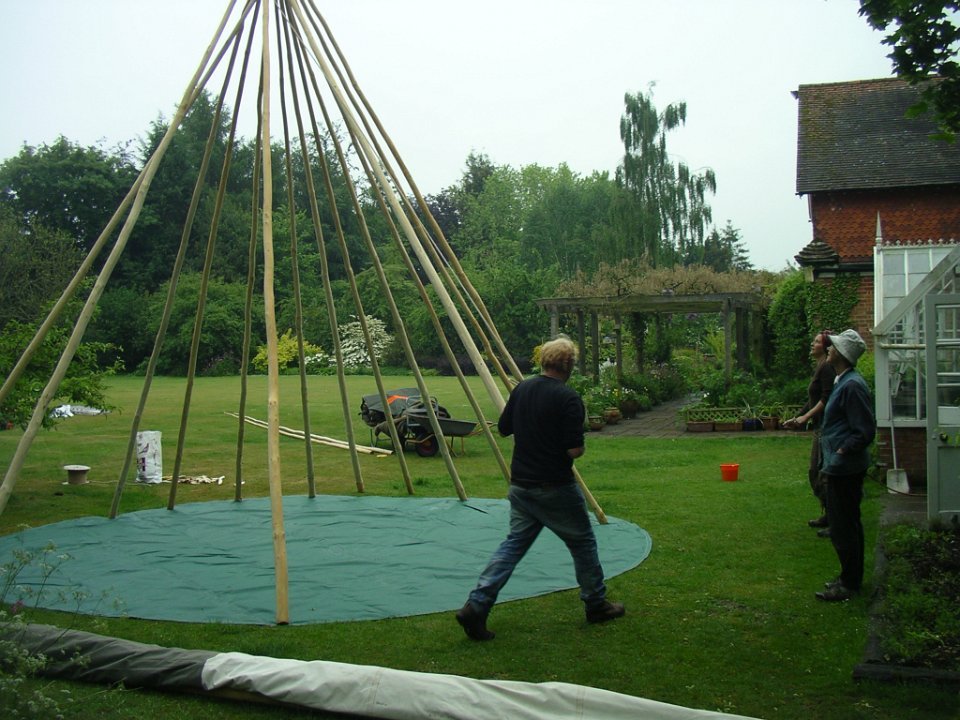
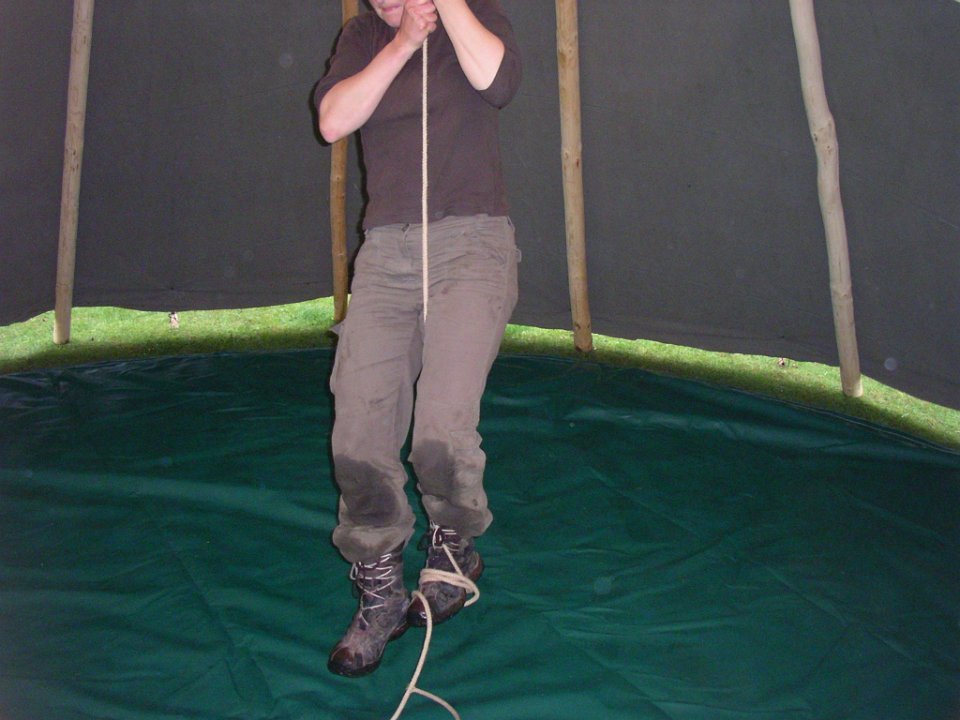
Start walking around anti-clockwise with rope
Continue walking and flick rope up to form lashing around all poles
Ditto
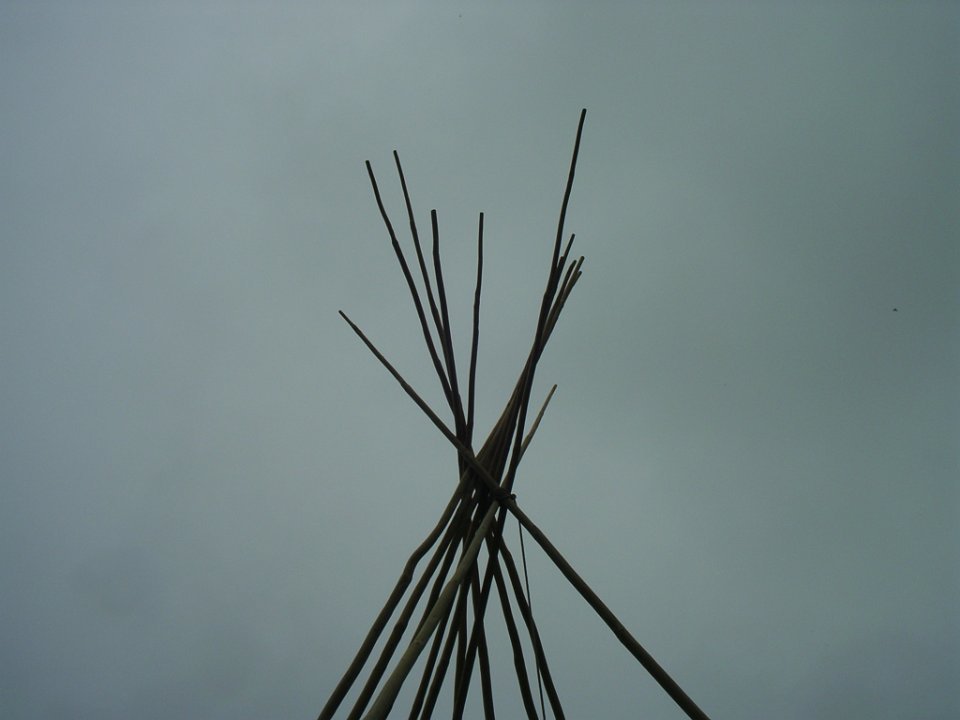
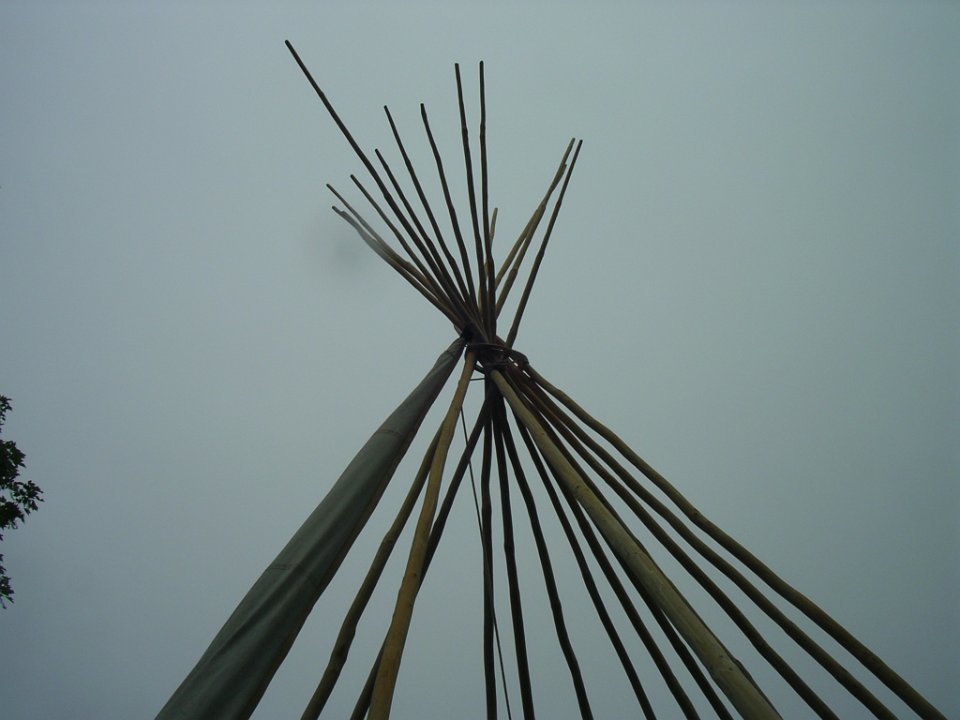
Continue for 4 loops around all poles – rope end just hangs at this stage
Ditto (from dismantling – rope is wound around one pole and end is pegged)

Raise pole with canvas
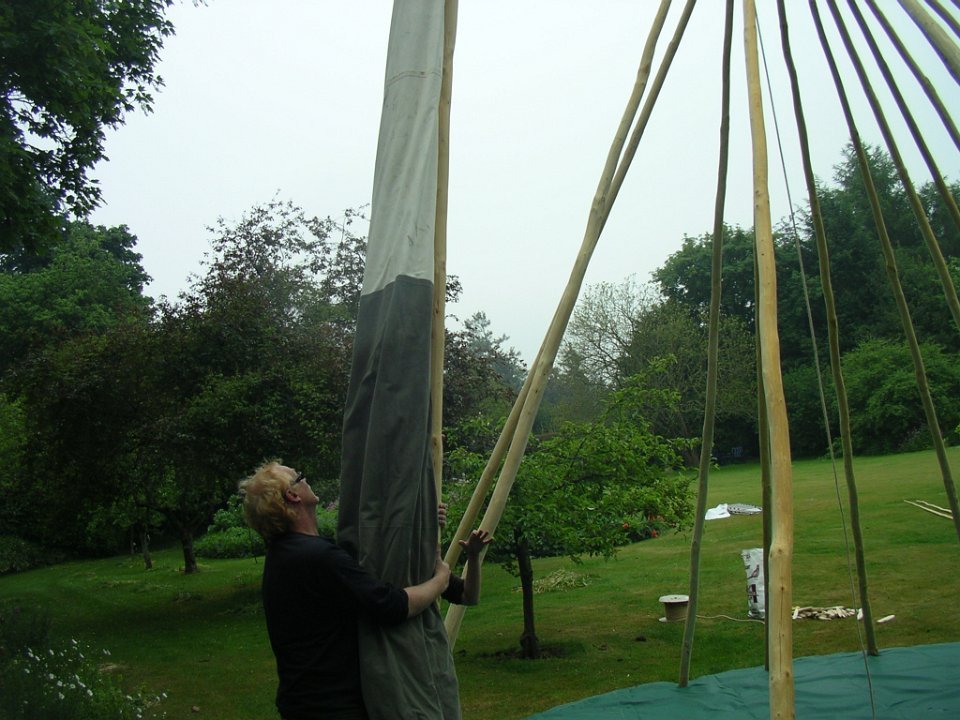
Place in obvious gap opposite door
Ditto
Ditto
Roll canvas around poles, pulling down and towards the door – canvas quite loose
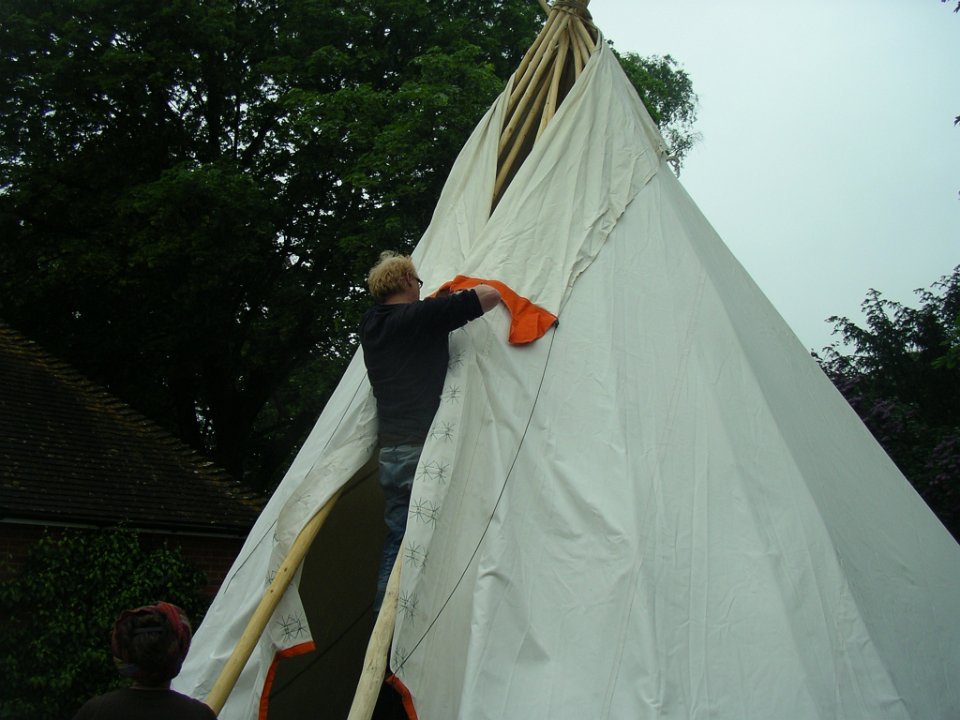
Insert hazel stick through eyeholes to secure canvas above the door
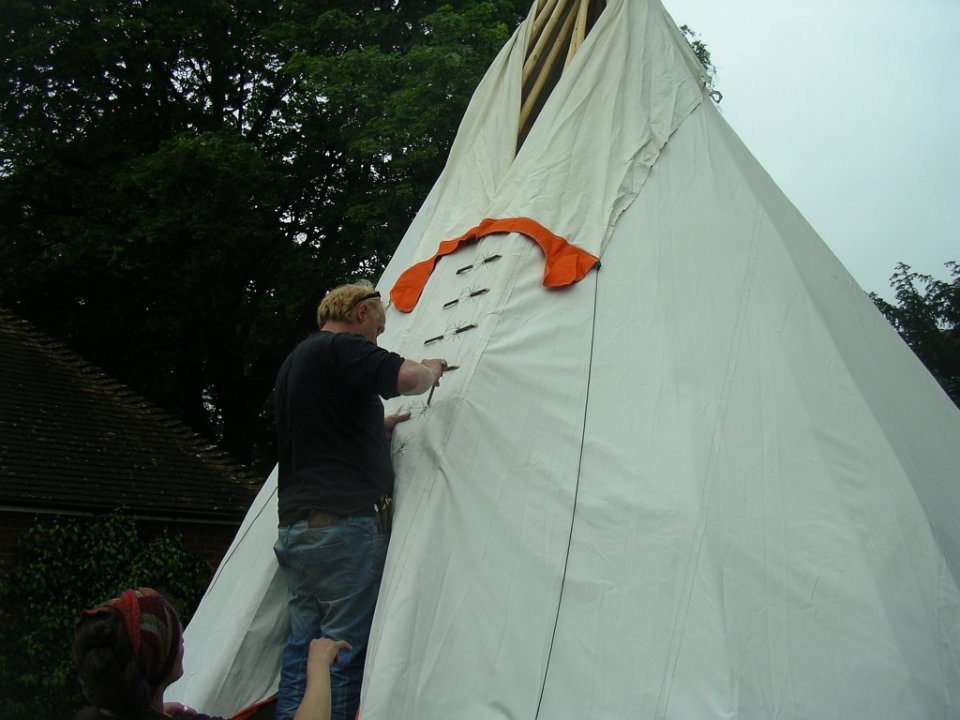
Ditto
![[Poles, other than tripod, are positioned, push out for taut canvas and pull down] Peg down starting at the left side of the door](https://images.squarespace-cdn.com/content/v1/626949c4704a88217287409f/c73e2546-59f0-45da-8ca0-19a0c4a2d648/35.jpeg)
[Poles, other than tripod, are positioned, push out for taut canvas and pull down] Peg down starting at the left side of the door
What’s this about? Looks OK
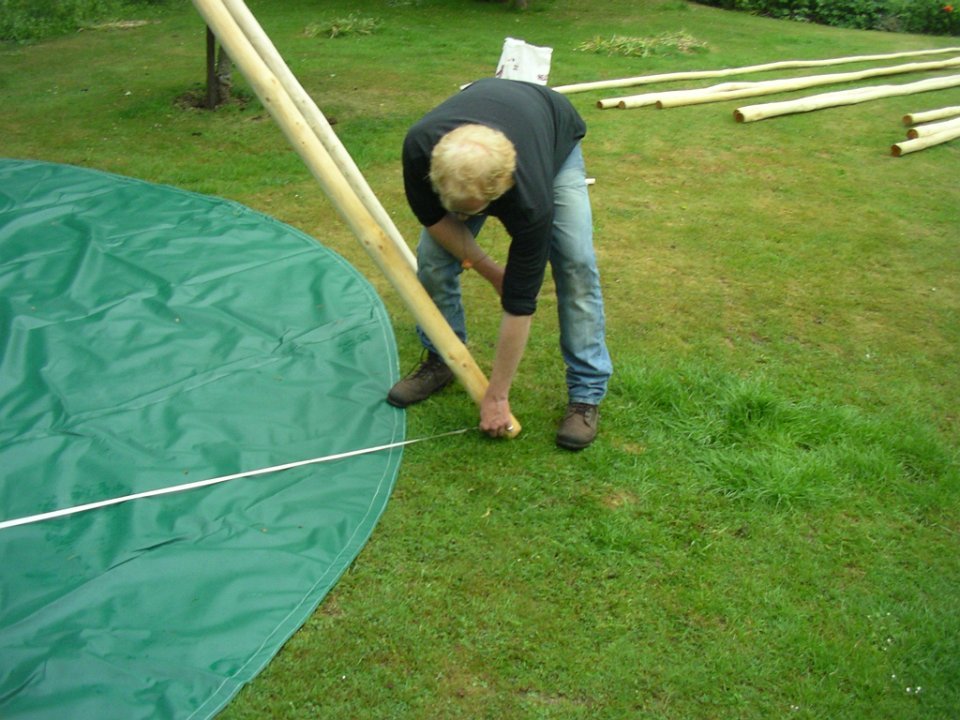
Keep pegging, going anti-clockwise
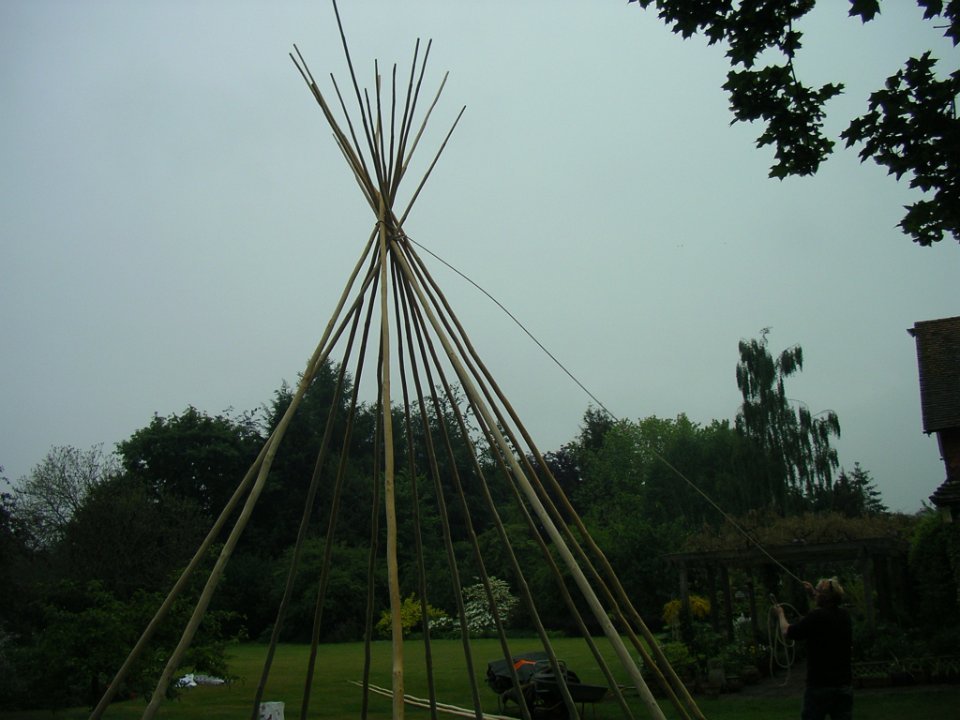
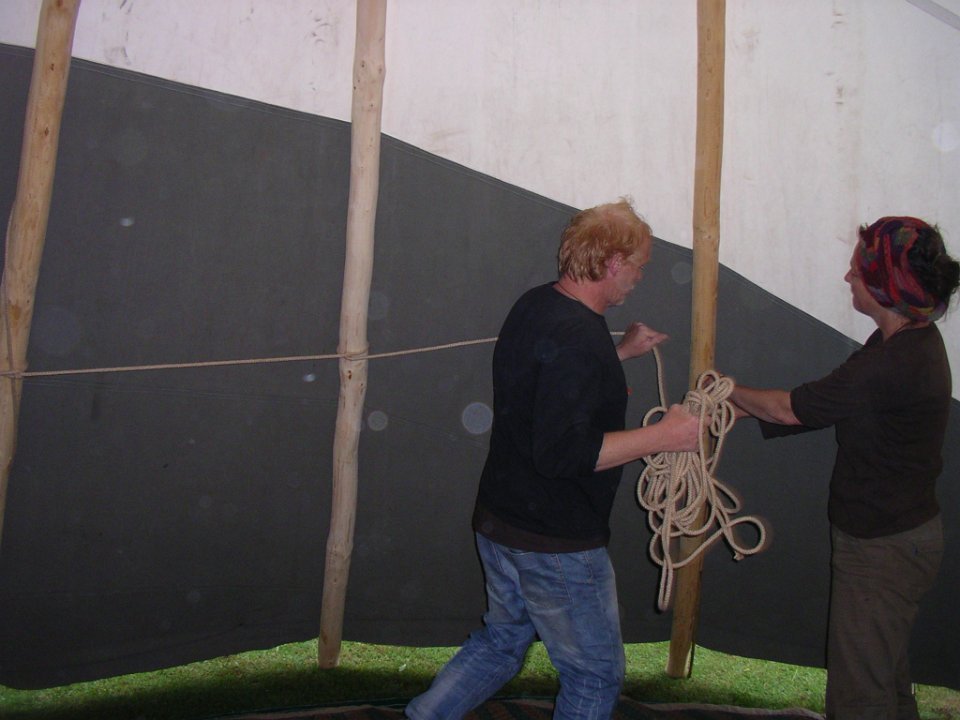
With all pegs in, now tighten the lashing by putting weight on rope as shown
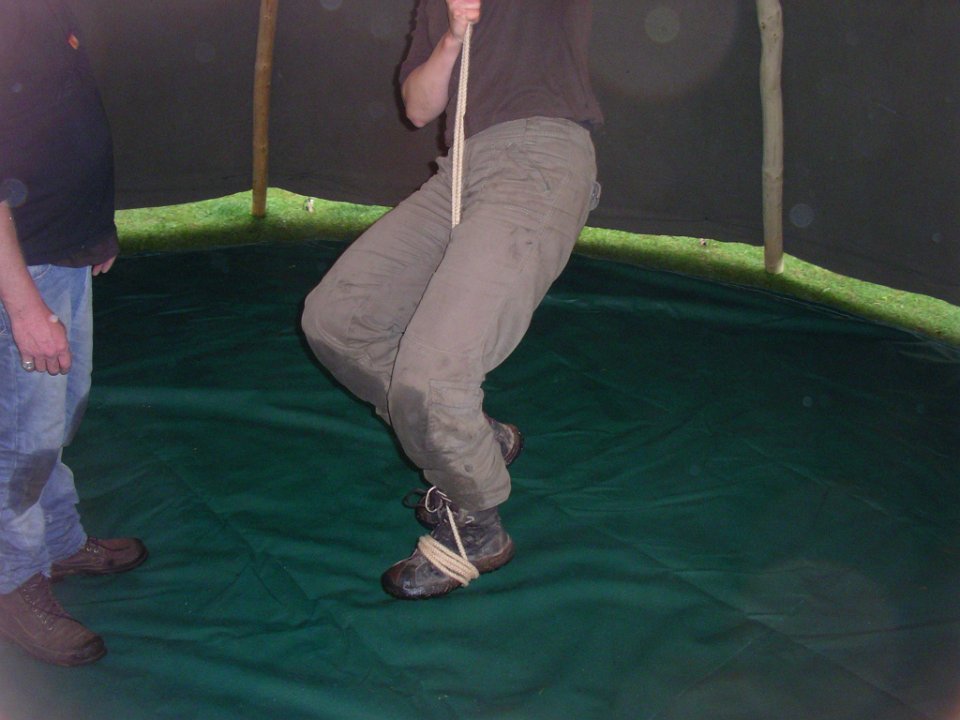
Ditto
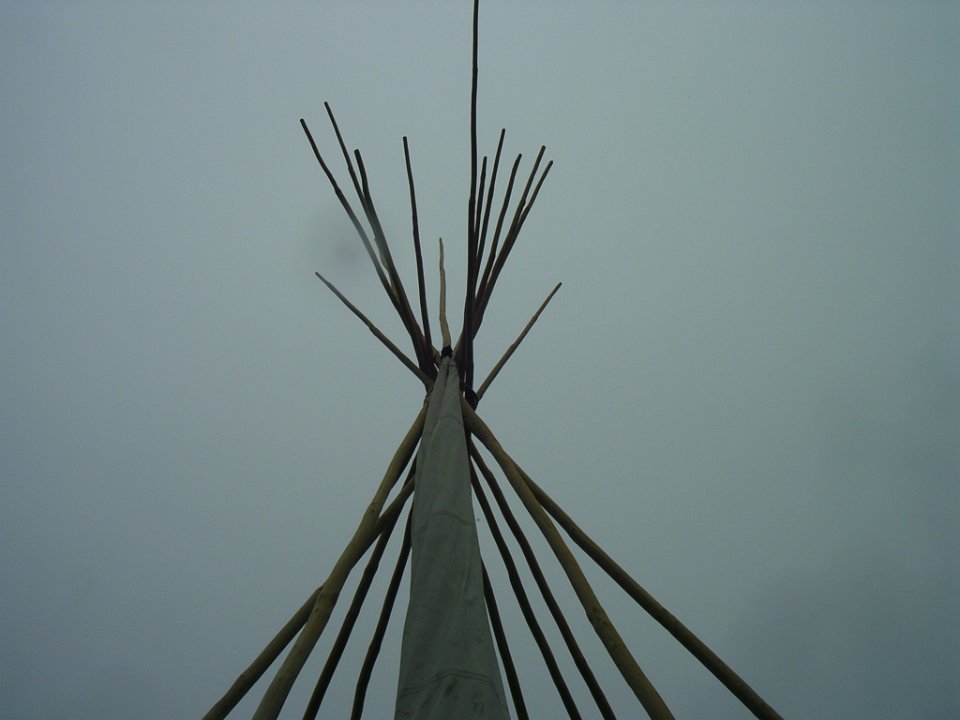
Insert the two long flue poles as shown
Tie on curtain support rope 5’ along poles from the base of the pole
Ditto and note the knot used

Fold spare (for doorway) back on itself to secure
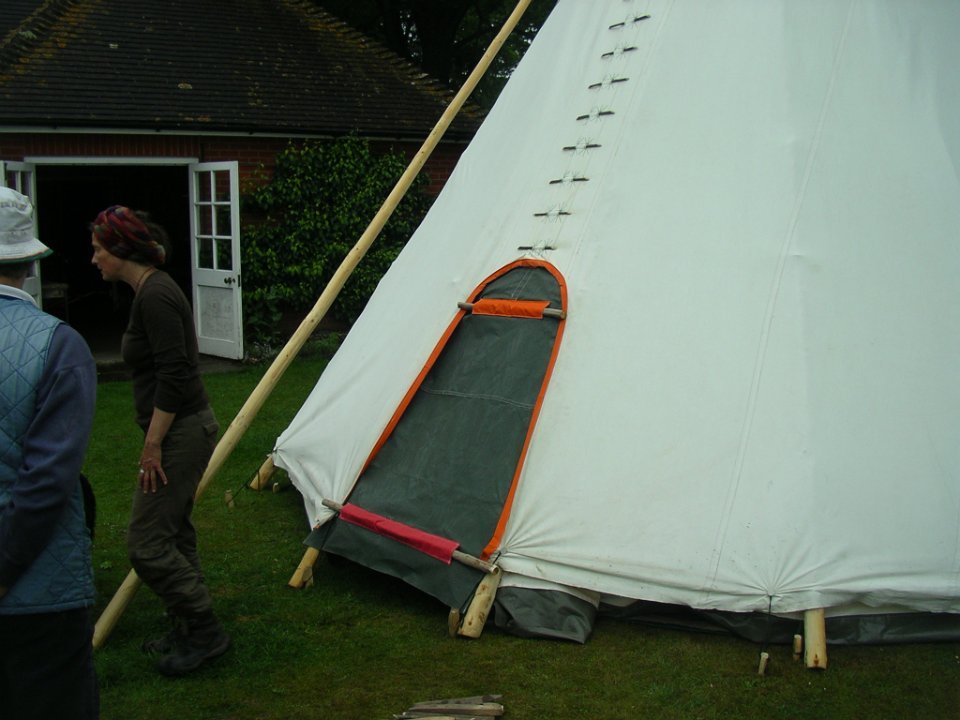
Fit door and door bars as shown
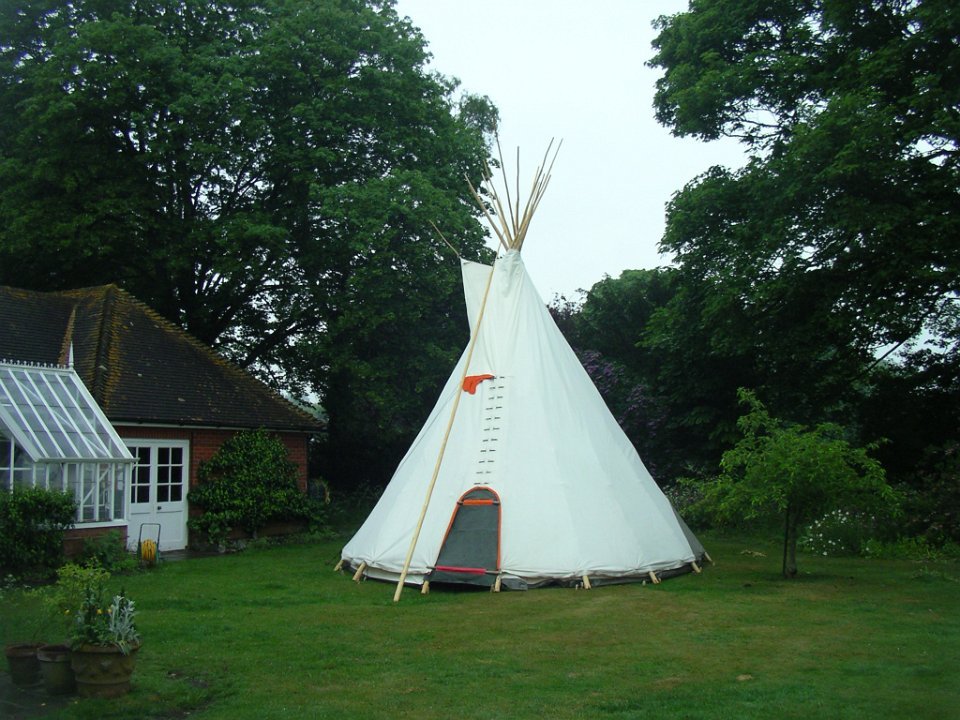
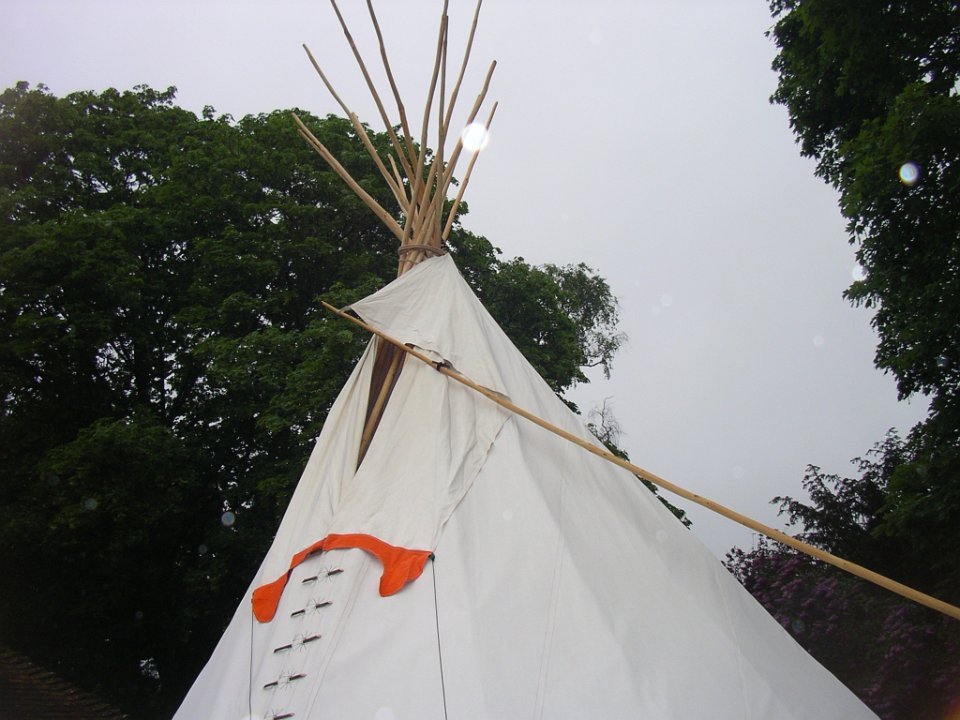
The real thing!